SWe1: The Warrior’s Heart
Play SWe1: The Warrior’s Heart
SWe1: The Warrior’s Heart Screenshots


SWe1: The Warrior’s Heart review
In-depth look at SWe1: The Warrior’s Heart gameplay, story, and tips
SWe1: The Warrior’s Heart is a 3DCG visual novel that blends a branching narrative with strategic encounters and relationship systems, delivering a rich solo-play experience centered on the protagonist’s journey and choices. This guide dives into the game’s core features, story beats, and practical playing advice to help both newcomers and returning players get the most out of the title. I’ll share personal impressions from play sessions, concrete tips for key encounters, and ways to unlock important story branches in SWe1: The Warrior’s Heart.
Story & Setting: What Is SWe1: The Warrior’s Heart About?
Let’s be honest: you don’t play a game like SWe1: The Warrior’s Heart just for the combat. You play it to get lost in a world, to see your choices ripple out and change the fate of kingdoms, and to see if your character can hold onto their soul when everything is trying to tear it away. 🗡️ The SWe1: The Warrior’s Heart story is the true backbone of the experience, a sprawling epic that asks what you’re willing to sacrifice for power, for loyalty, and for love.
This chapter is your deep dive into that narrative. We’ll unpack the SWe1 plot overview, meet the unforgettable SWe1 characters, and demystify the legendary branching narrative SWe1 is famous for. By the end, you’ll understand exactly what this tale is about and how to make it your own.
Overview of the central plot and themes
You begin as Kaelen, a seasoned but weary mercenary captain with a mysterious past you can partially shape during character creation. The game wastes no time thrusting you into the heart of a conflict as ancient as it is brutal. The continent of Aethelgard is fractured, caught in a grinding war between two crumbling empires: the stalwart, tradition-bound Iron Dominion and the zealous, magic-wielding Ascendancy.
The core SWe1 plot overview is this: a legendary artifact known as the “Warrior’s Heart” has resurfaced. It’s not just a shiny trinket; it’s a primal source of power said to have ended the last great war by sealing away a cataclysmic force. 🏆 Now, with its seal weakening, every faction, cult, and ambitious warlord wants it—either to control the power for themselves or to prevent the apocalypse it might unleash.
Your journey starts with a simple contract that goes horrifically wrong, leaving you branded, hunted, and inexplicably linked to the very artifact everyone seeks. The central themes quickly come into sharp focus:
* Loyalty vs. Pragmatism: Do you uphold your mercenary code and protect your found family, the “Steel Ravens,” or do you make cold, strategic alliances for the greater good?
* The Burden of Power: As the artifact’s influence on you grows, you must decide if you are wielding it or if it is slowly wielding you.
* Personal Growth from Trauma: Kaelen is a scarred individual. The story is as much about confronting personal ghosts as it is about saving the world.
The genius of the SWe1: The Warrior’s Heart story is that it frames this epic, world-saving quest around intensely personal stakes. You’re not just fighting for Aethelgard; you’re fighting for the soul of your companions and for the person you choose to become.
Key characters and their motivations
Kaelen is your vessel, but the world is brought to life by its incredible cast. Your relationships with them don’t just provide fun banter; they directly influence the plot, unlock missions, and determine which endings you can access. Here’s a quick-hit list of the core group you’ll spend dozens of hours with:
- Kaelen (You): A mercenary leader shaped by past wars. Your defined personality (choices between Honorable, Cynical, or Pragmatic) changes how others react to you.
- Seraphina: A disgraced paladin of the Iron Dominion seeking redemption. Your moral compass, if you let her be. ⚔️
- Rook: Your second-in-command, a loyal but worryingly ruthless strategist. He believes in survival at any cost.
- Lyra: A rogue mage from the Ascendancy, on the run for her “heretical” research into calming the artifact’s power.
- Gideon: The charming, enigmatic spymaster who offers you contracts. Whose game is he really playing?
- The Voice (The Artifact): A mysterious, haunting presence in your mind. Is it a guide, a manipulator, or a prisoner?
Now, let’s get into what makes these SWe1 characters tick.
Seraphina is the embodiment of the Iron Dominion’s ideals—honor, duty, sacrifice. Her motivation is to cleanse her family’s name after her brother’s supposed treason. She will fiercely challenge you if your actions become too underhanded, and her personal questline involves a heartbreaking choice between absolute justice and merciful truth. She represents the path of light, but the game cleverly shows how rigid light can cast very dark shadows.
Rook is the other side of that coin. He’s fiercely loyal to you and the Steel Ravens, but to him, the ends always justify the means. His backstory as a survivor of a magical catastrophe makes him deeply distrustful of the artifact and Lyra’s magic. He’s the voice in your ear urging you to be strong, ruthless, and to put your family first, even if it means burning a few bridges—or villages.
Then there’s Lyra. Where Seraphina deals in faith and steel, Lyra deals in knowledge and risk. She sees the Warrior’s Heart not as a weapon, but as a sick, wounded thing that needs to be understood and healed. Her motivation is pure academic curiosity laced with a deep-seated guilt over her role in the Ascendancy’s more brutal applications of magic. Allying with her opens up paths of dialogue and solutions that are closed to those who fear magic.
Finally, you have Gideon. He’s your primary link to the shadow war happening behind the big armies clashing on the field. 👑 His motivation is information and stability; he serves “the realm,” but his definition of that is suspiciously flexible. He will constantly offer you deals that give short-term advantages for long-term moral compromises. Trusting him is always a gamble, but refusing him can close off entire avenues of resources and intelligence.
These core SWe1 characters, along with a dozen other key figures, form the web of relationships you must navigate. Your bonds with them are tracked through a subtle “Trust” system, and reaching high or low thresholds with each can trigger companion-specific missions, romance options, and even determine who lives, who dies, and who stands with you at the very end.
How choices shape the narrative
This is where SWe1: The Warrior’s Heart truly earns its reputation. The branching narrative SWe1 employs isn’t about picking “good” or “evil” from a menu. It’s about making difficult, often irreversible decisions with consequences that can take hours to fully manifest. The game doesn’t have a morality meter; it has a World State.
Think of it as managing the political and emotional landscape of Aethelgard. Every major choice shifts the balance of power, alters faction reputations, and changes how your companions view you.
How it Works:
Major decision points are called “Crossroads.” These are often timed, high-pressure conversations or pivotal actions at the end of a story arc. The game autosaves before them and locks you in—no quick-loading without consequence! Your choices here create forks that lead to completely different missions, unlock or lock out companions, and set you on a path toward one of the game’s core ending sequences.
Let me give you a concrete example from my first playthrough. Early on, you intercept a caravan carrying a crucial ore to the Ascendancy. Rook wants to destroy it to cripple their war effort. Seraphina argues it’s likely guarded by conscripts, not soldiers, and destroying it is murder. Lyra suggests a third path: hijack it and use the ore to bribe a neutral faction for information.
- Choice A (Destroy): You gain major resources and please Rook, but your reputation with the Iron Dominion (who value honor) sours. Later, you face hardened, desperate Ascendancy troops with better equipment because you forced their hand.
- Choice B (Spare): You earn Seraphina’s deep respect and a better standing with the Dominion. However, you lose crucial resources, and later, you fight Ascendancy mages empowered by that very ore.
- Choice C (Hijack): This requires having built enough trust with Lyra for her to suggest it. It opens a whole new mission chain with the neutral faction, giving you unique intelligence, but both major factions now view you as an unpredictable thief.
See what I mean? There’s rarely a “best” choice, only your choice.
Personal Insight: I didn’t even know one of my favorite scenes existed until my third playthrough. I was playing a deeply cynical Kaelen who consistently sided with Rook. Late in the game, during a desperate last stand at a bridge, who showed up unannounced? A band of mercenaries I’d helped in a throwaway side-quest 40 hours earlier. The leader said, “You paid for our medicine when no one else would. We pay our debts.” They turned the tide of the battle. I was floored. The game had remembered a small act of decency in a playthrough otherwise defined by ruthlessness. That’s the magic of the branching narrative SWe1 creators built. ✨
These branches ultimately funnel you toward the final, monumental choices that define the SWe1 endings explained below. Your relationship with the artifact, your faction alliances, and who you have by your side all come to a head.
| Ending Archetype | Key Requirements | World State Outcome |
|---|---|---|
| The Sovereign’s Peace | High trust with Seraphina & Gideon; reconcile the factions. | A fragile new alliance is formed with you as its warden. Order is restored, but at the cost of some core freedoms. |
| The Unshackled Heart | Max trust with Lyra; choose to understand/destroy the artifact. | The primal magic is released or dispersed, breaking cycles of power. Society is chaotic but free to rebuild without its influence. |
| The Raven’s Empire | Max trust with Rook; prioritize the Steel Ravens above all. | You and your mercenary band seize power through strength. You create a stable, militaristic rule built on loyalty and fear. |
| The Fall | Succumb to the artifact’s power; betray key companions. | You become the new vessel of the cataclysm. Aethelgard falls, and you reign over the ashes as a tyrannical god. |
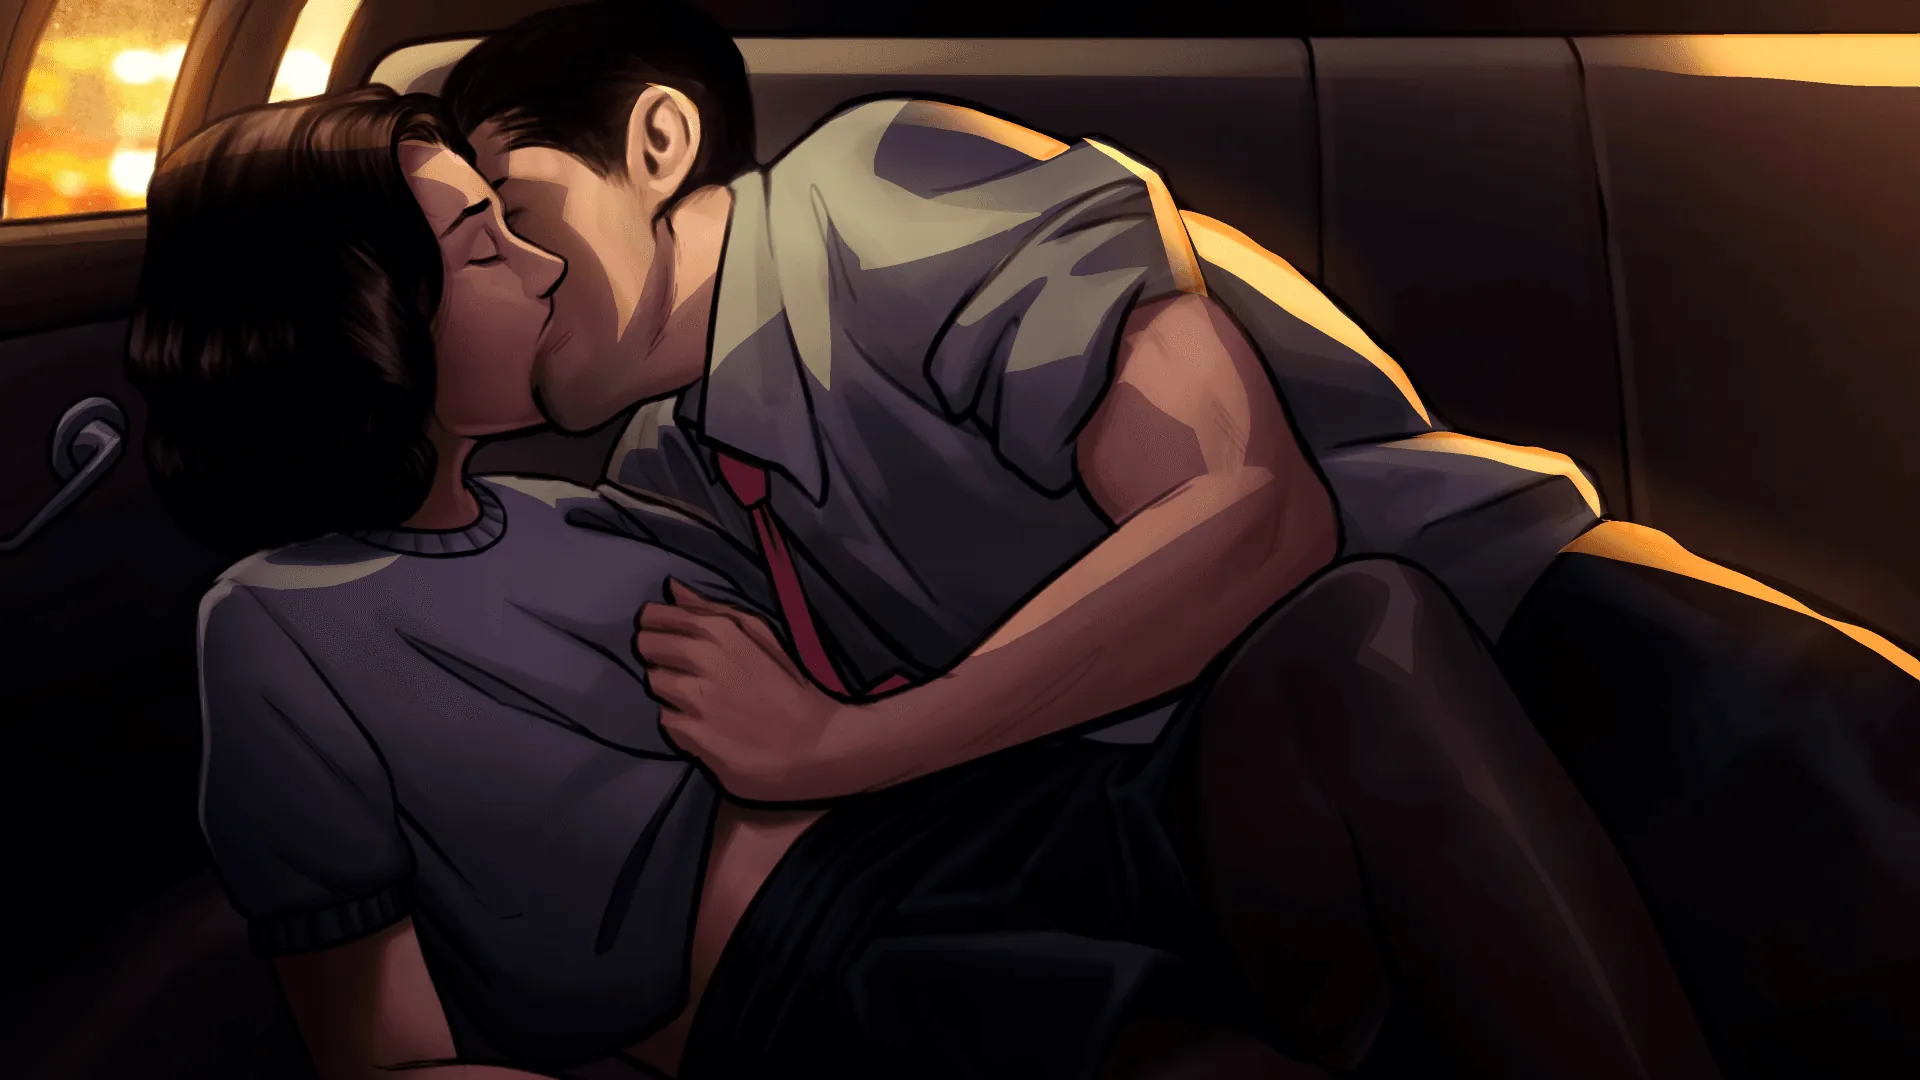
Romance is woven directly into this progression. Pursuing a relationship isn’t just a side-quest; it’s a major narrative commitment. 🥀 A romanced companion will have drastically different dialogue in the endgame, may sacrifice themselves for you, or might even leave you if your final choice betrays their core beliefs. Their personal ending slide is intricately tied to your own.
In essence, the SWe1: The Warrior’s Heart story is a tapestry, and you hold the needle. Every thread you choose to pull—every alliance forged, every trust broken, every moment of kindness or cruelty—changes the final picture. It’s a story about legacy, and it ensures that your legacy is uniquely, powerfully yours. Now that you know the lay of the land, you’re ready to step into Kaelen’s boots and write your own chapter in the history of Aethelgard.
SWe1: The Warrior’s Heart offers a layered visual-novel experience that rewards curiosity, replay, and tactical thinking; the branching narrative, relationship mechanics, and audiovisual presentation combine to create strong replay value. Use the practical tips in this guide to prioritize key skills, trigger important story branches, and install the game safely. If you enjoyed this walkthrough, try replaying pivotal chapters with different choices, explore community content, and share your discoveries with other players.